 |
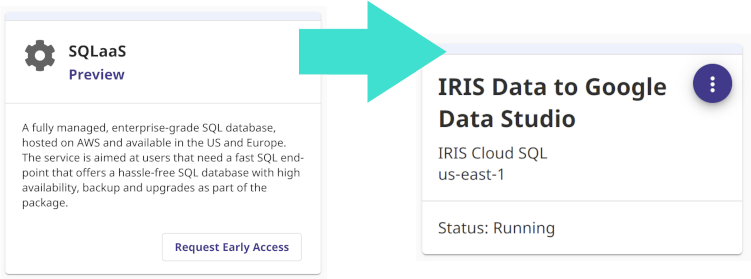
How to include IRIS Data into your Google Big Query Data Warehouse and in your Data Studio data explorations. In this article we will be using Google Cloud Dataflow to connect to our InterSystems Cloud SQL Service and build a job to persist the results of an IRIS query in Big Query on an interval. If you were lucky enough to get access to Cloud SQL at Global Summit 2022 as mentioned in "InterSystems IRIS: What's New, What's Next", it makes the example a snap, but you can pull this off with any publicly or vpc accessible listener you have provisioned instead. |
Prerequisites

Google Dataflow Job
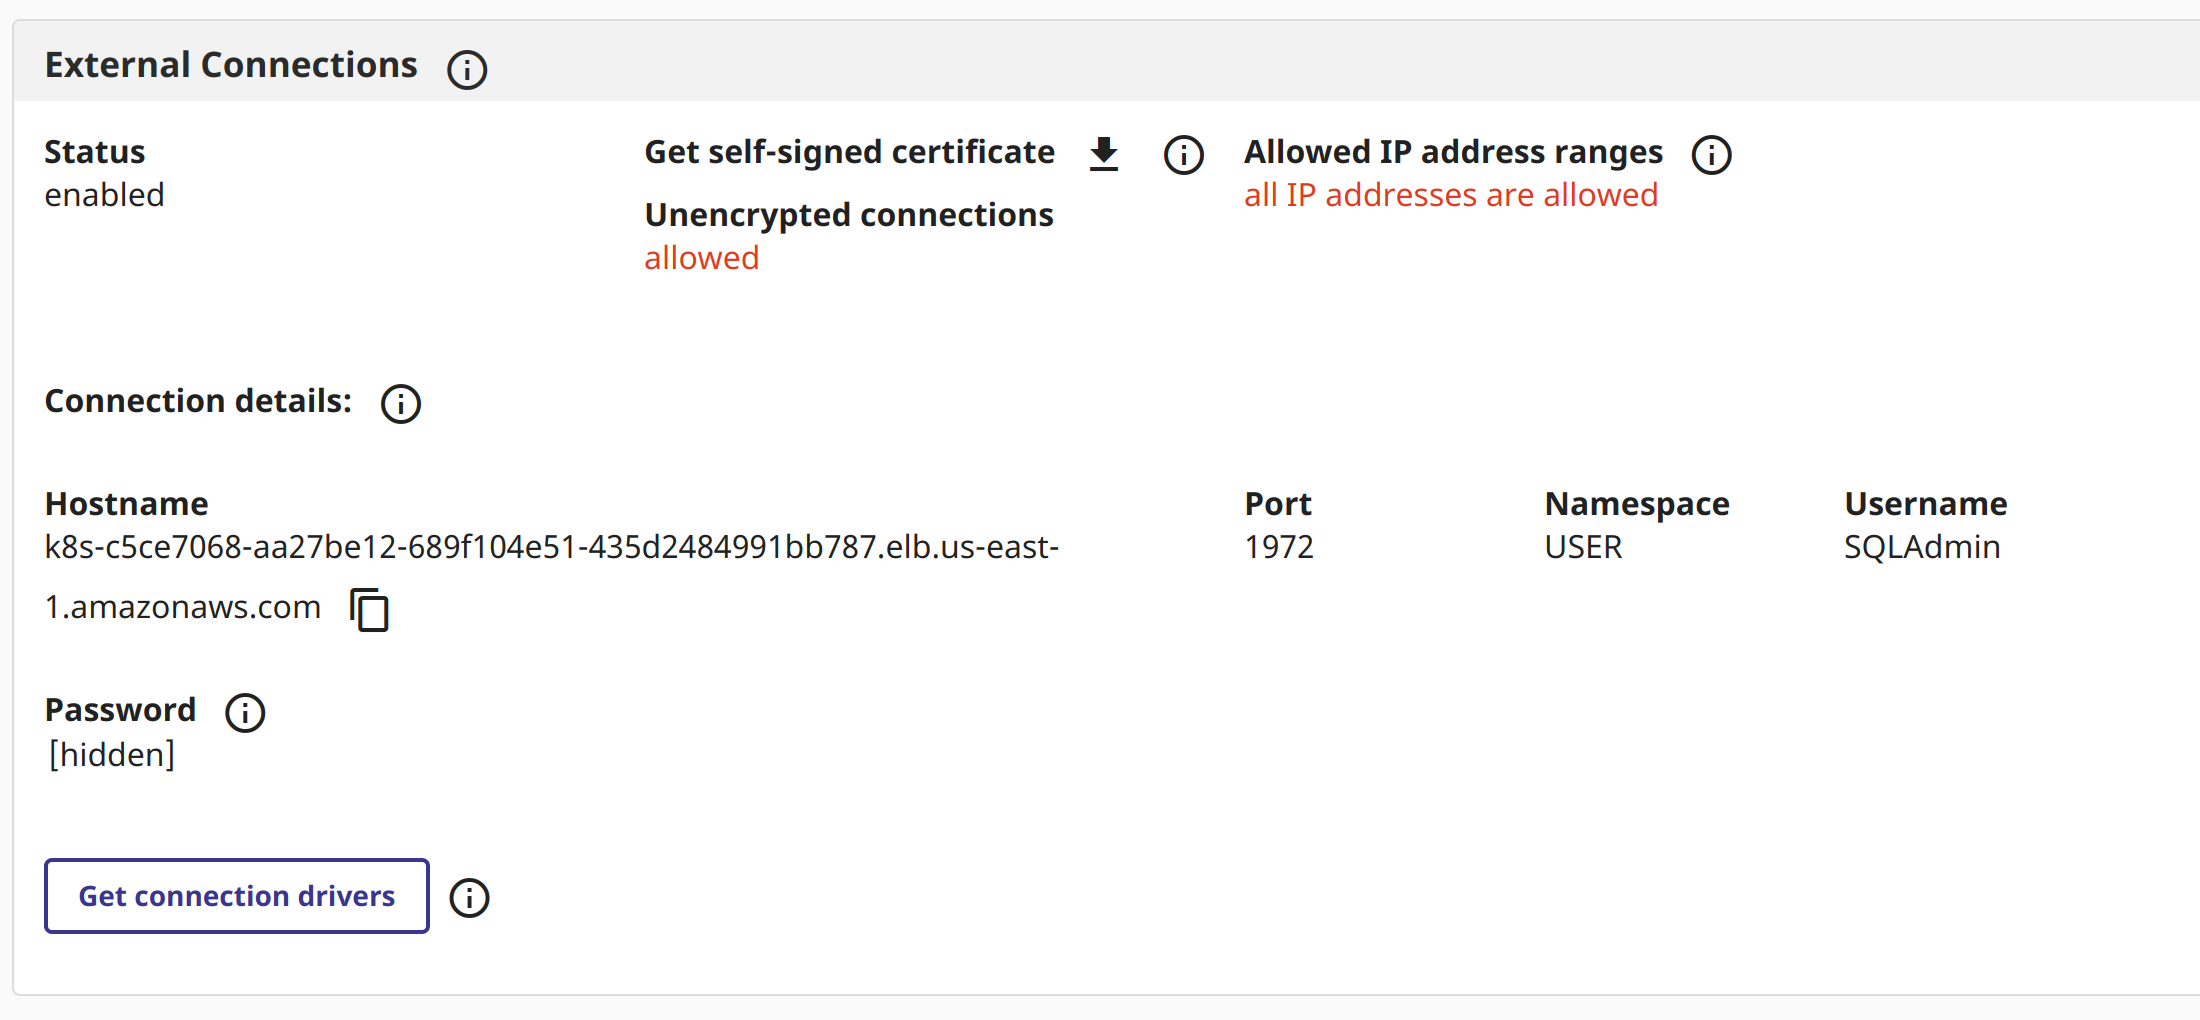
If you followed the steps above you should have the following in your inventory to execute the job to read your InterSystems IRIS data and ingest it into Google Big Query using Google Dataflow.
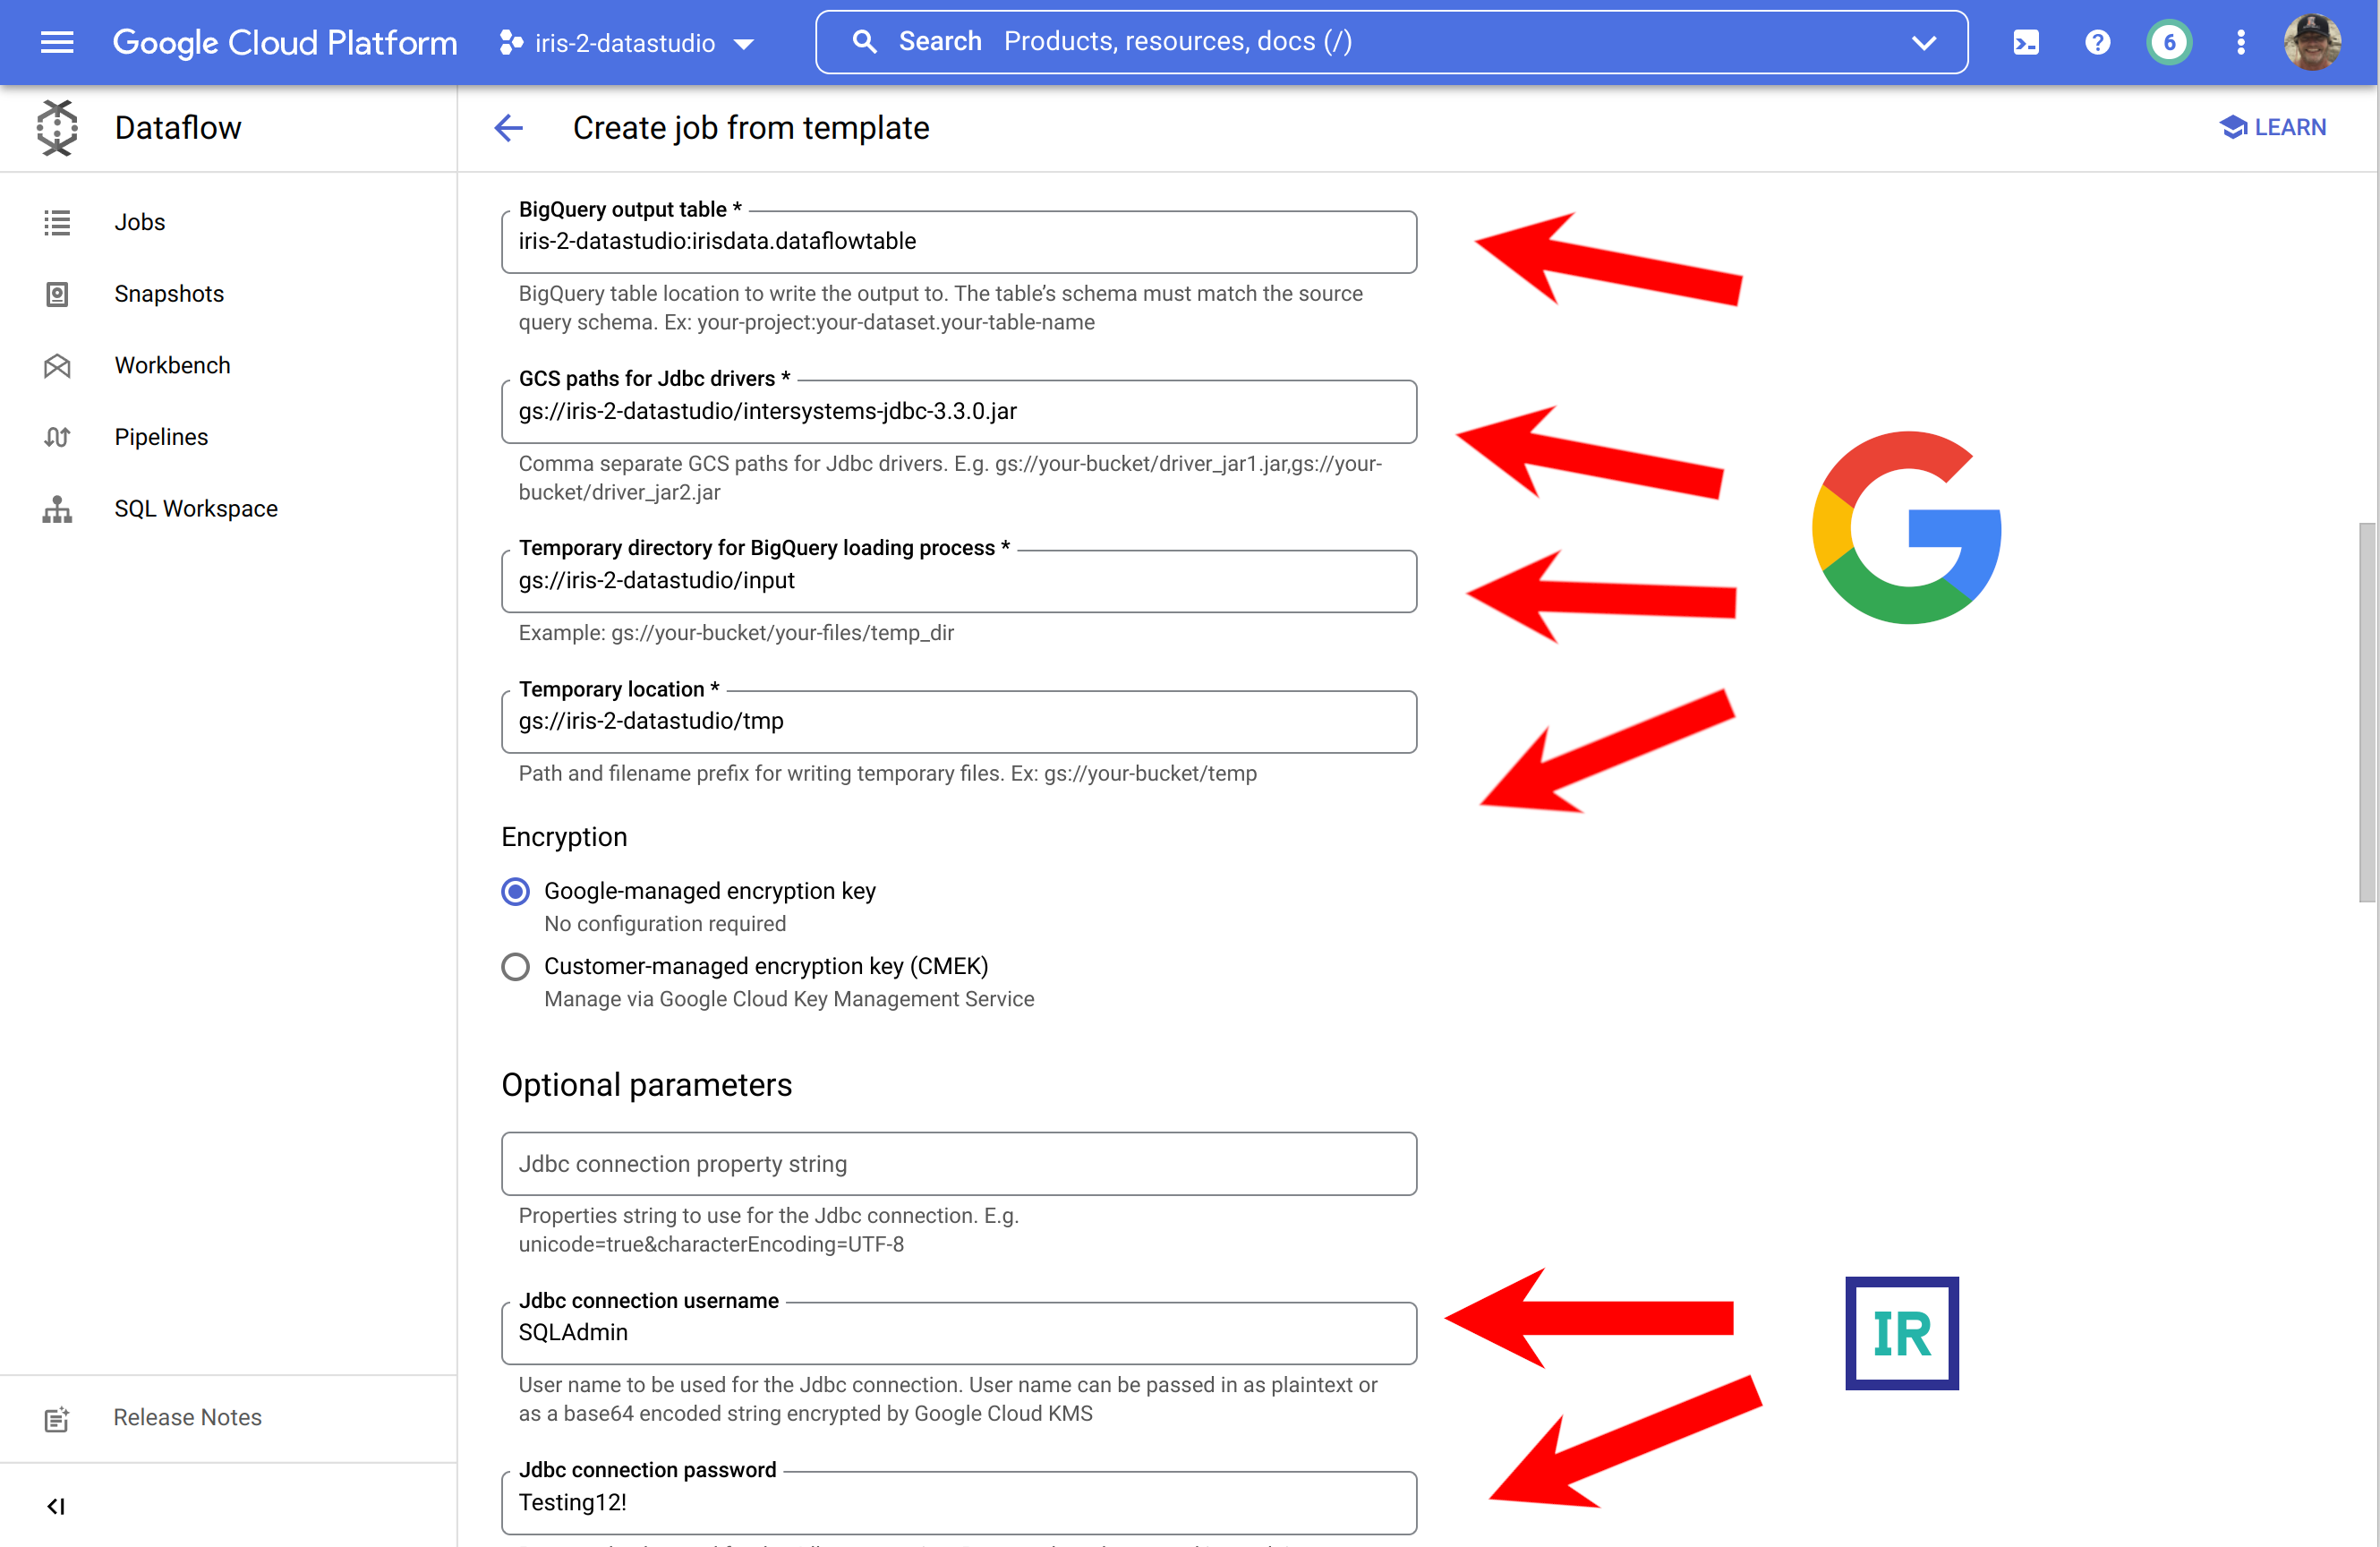
In the Google Cloud Console, head over to Dataflow and select "Create Job from Template"
This is a rather unnecessary/exhaustive illustration on how to instruct you to fill out a form with the generated pre-requisites, but it calls out the source of the components...
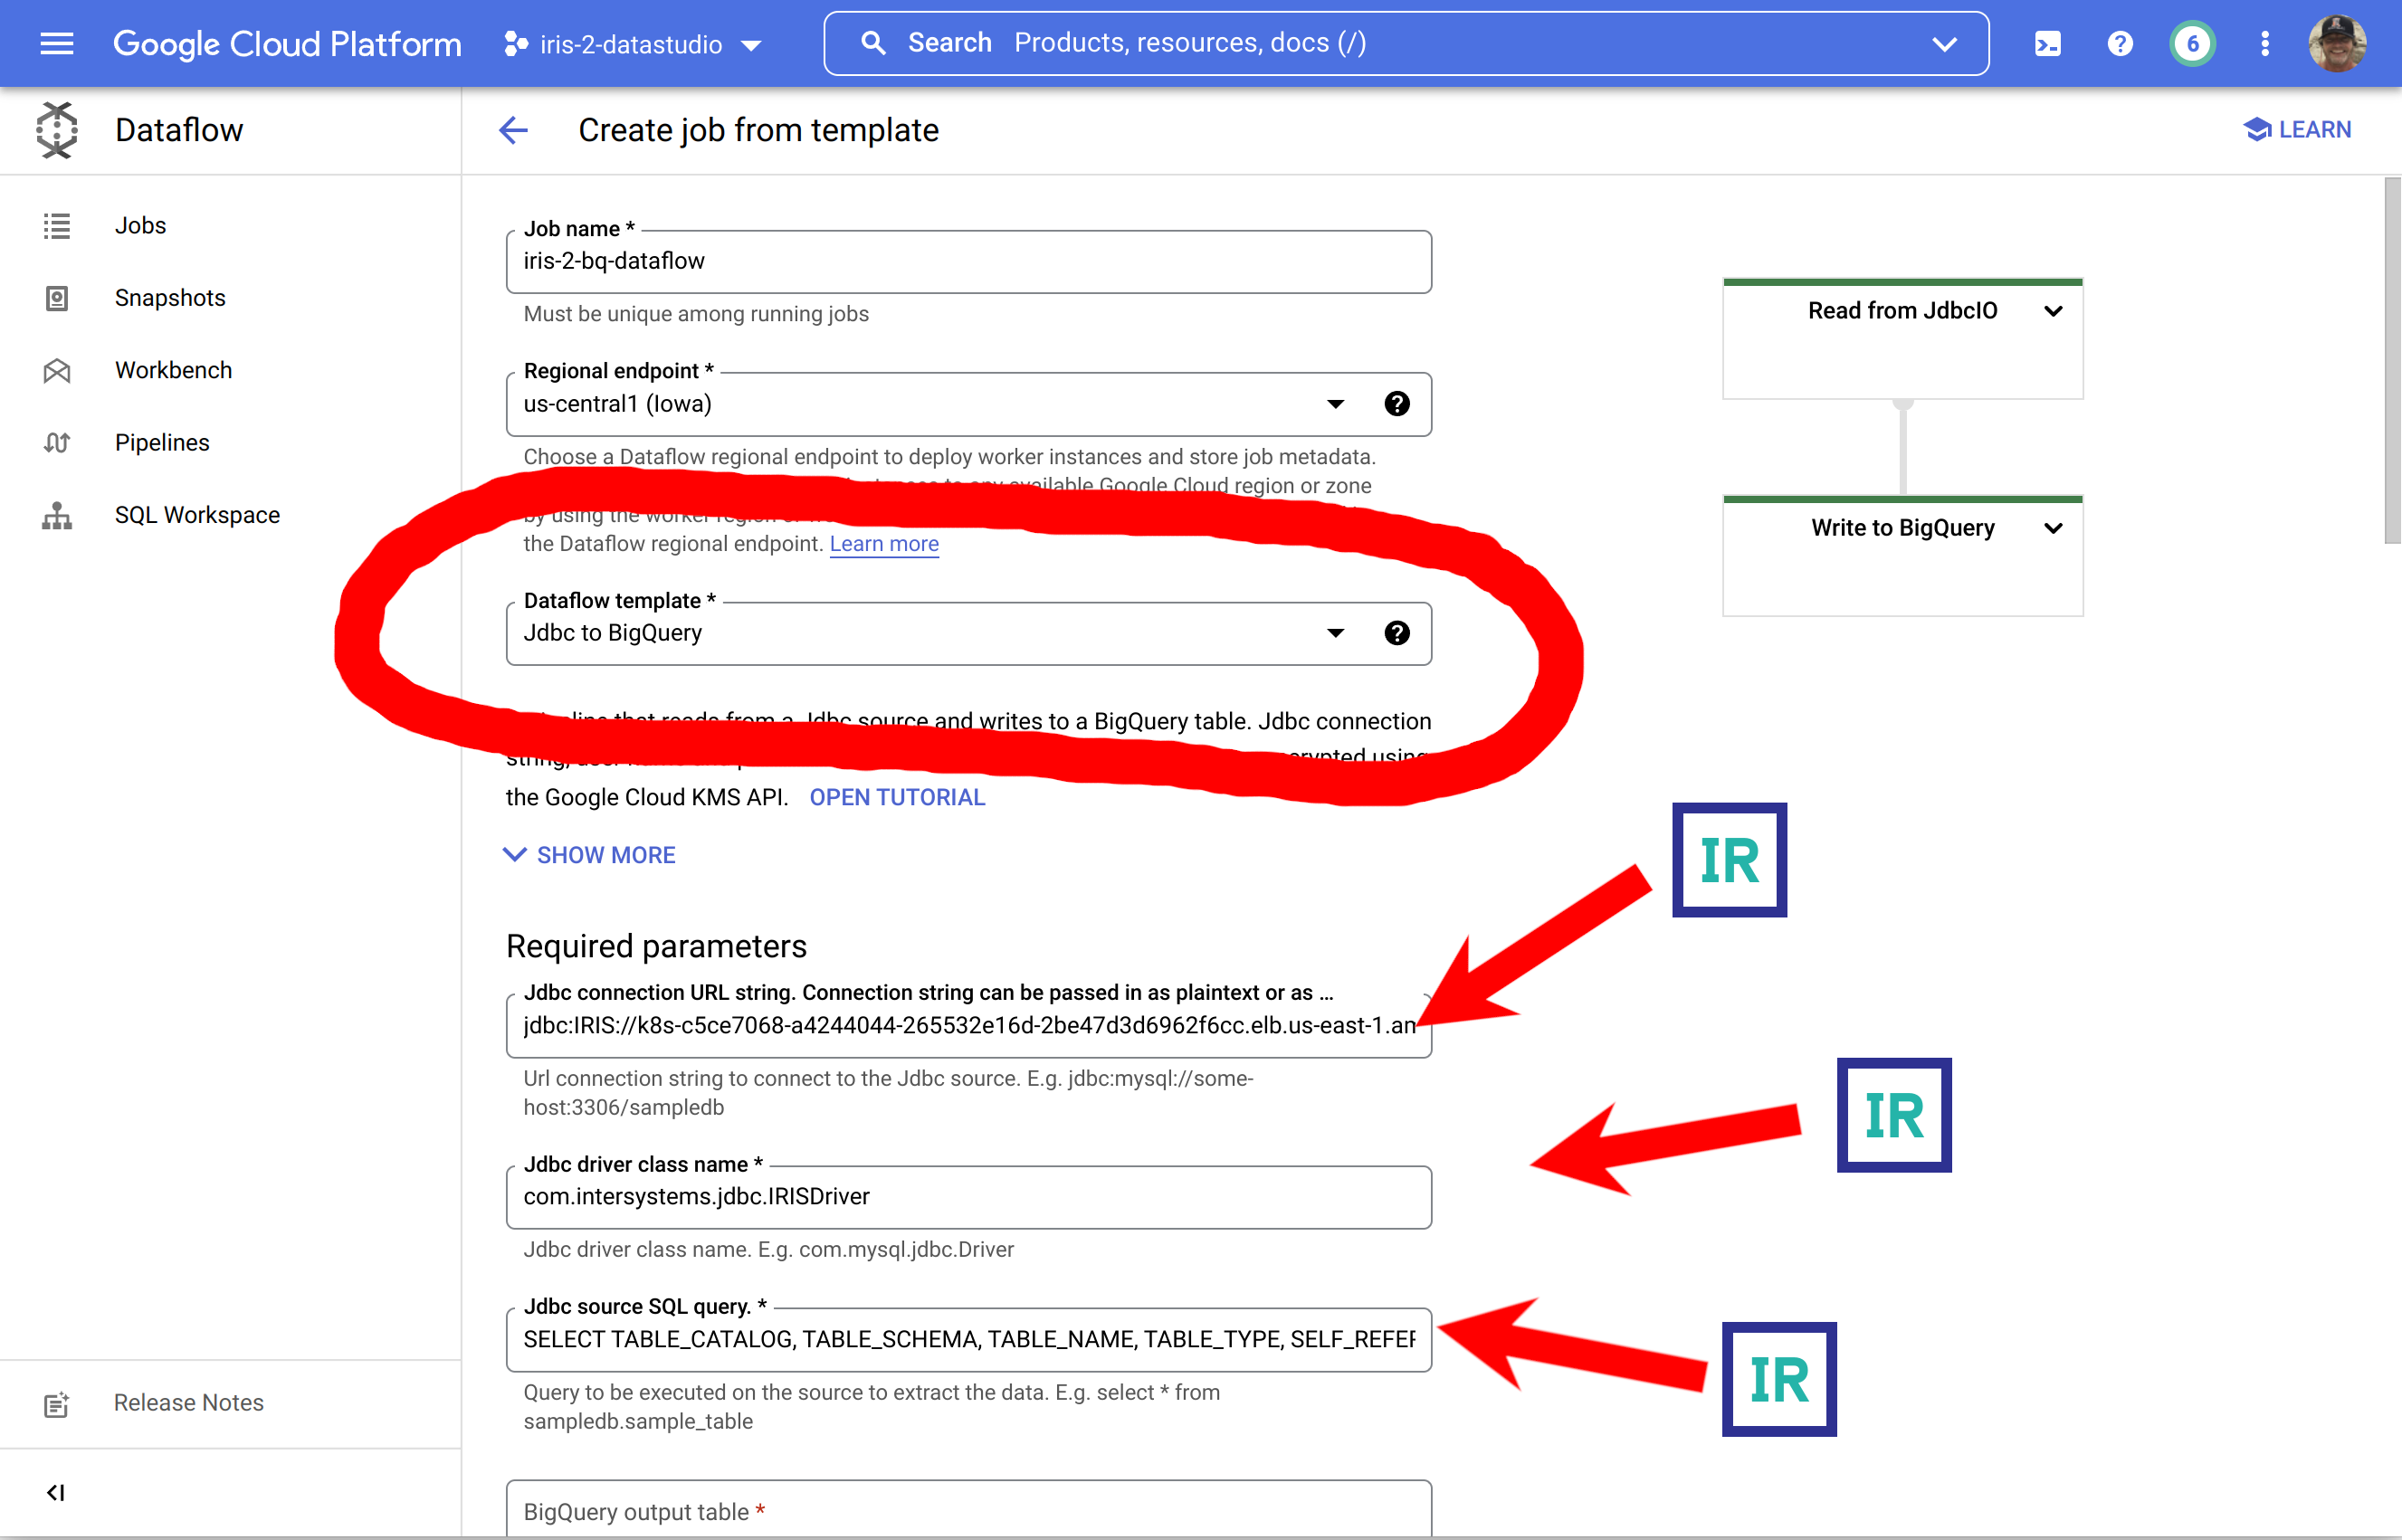
... to round it out, make sure you expand the bottom section and supply your credentials for IRIS.
For the ones who found those screenshots offensive to your intelligence, here is the alternate route to go to keep you inside your comfort zone in the CLI to run the job:
gcloud dataflow jobs run iris-2-bq-dataflow \
--gcs-location gs://dataflow-templates-us-central1/latest/Jdbc_to_BigQuery \
--region us-central1 --num-workers 2 \
--staging-location gs://iris-2-datastudio/tmp \
--parameters connectionURL=jdbc:IRIS://k8s-c5ce7068-a4244044-265532e16d-2be47d3d6962f6cc.elb.us-east-1.amazonaws.com:1972/USER,driverClassName=com.intersystems.jdbc.IRISDriver,query=SELECT TABLE_CATALOG, TABLE_SCHEMA, TABLE_NAME, TABLE_TYPE, SELF_REFERENCING_COLUMN_NAME, REFERENCE_GENERATION, USER_DEFINED_TYPE_CATALOG, USER_DEFINED_TYPE_SCHEMA, USER_DEFINED_TYPE_NAME, IS_INSERTABLE_INTO, IS_TYPED, CLASSNAME, DESCRIPTION, OWNER, IS_SHARDED FROM INFORMATION_SCHEMA.TABLES;,outputTable=iris-2-datastudio:irisdata.dataflowtable,driverJars=gs://iris-2-datastudio/intersystems-jdbc-3.3.0.jar,bigQueryLoadingTemporaryDirectory=gs://iris-2-datastudio/input,username=SQLAdmin,password=Testing12!
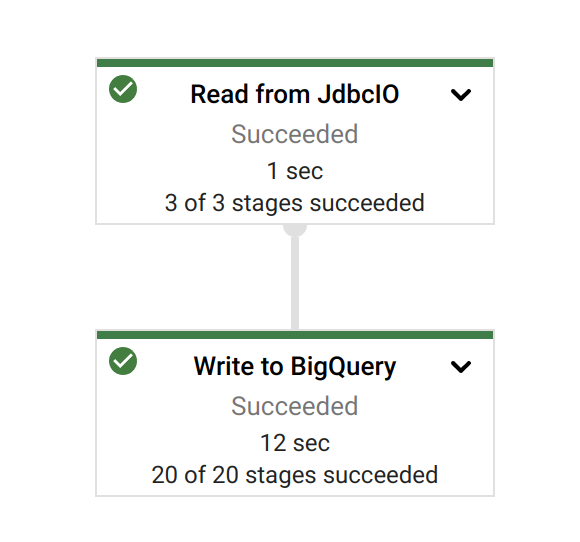
Once you have kicked off your job, you can bask in the glory a successful job run:
Results
Taking a look at our source data and query in InterSystems Cloud SQL...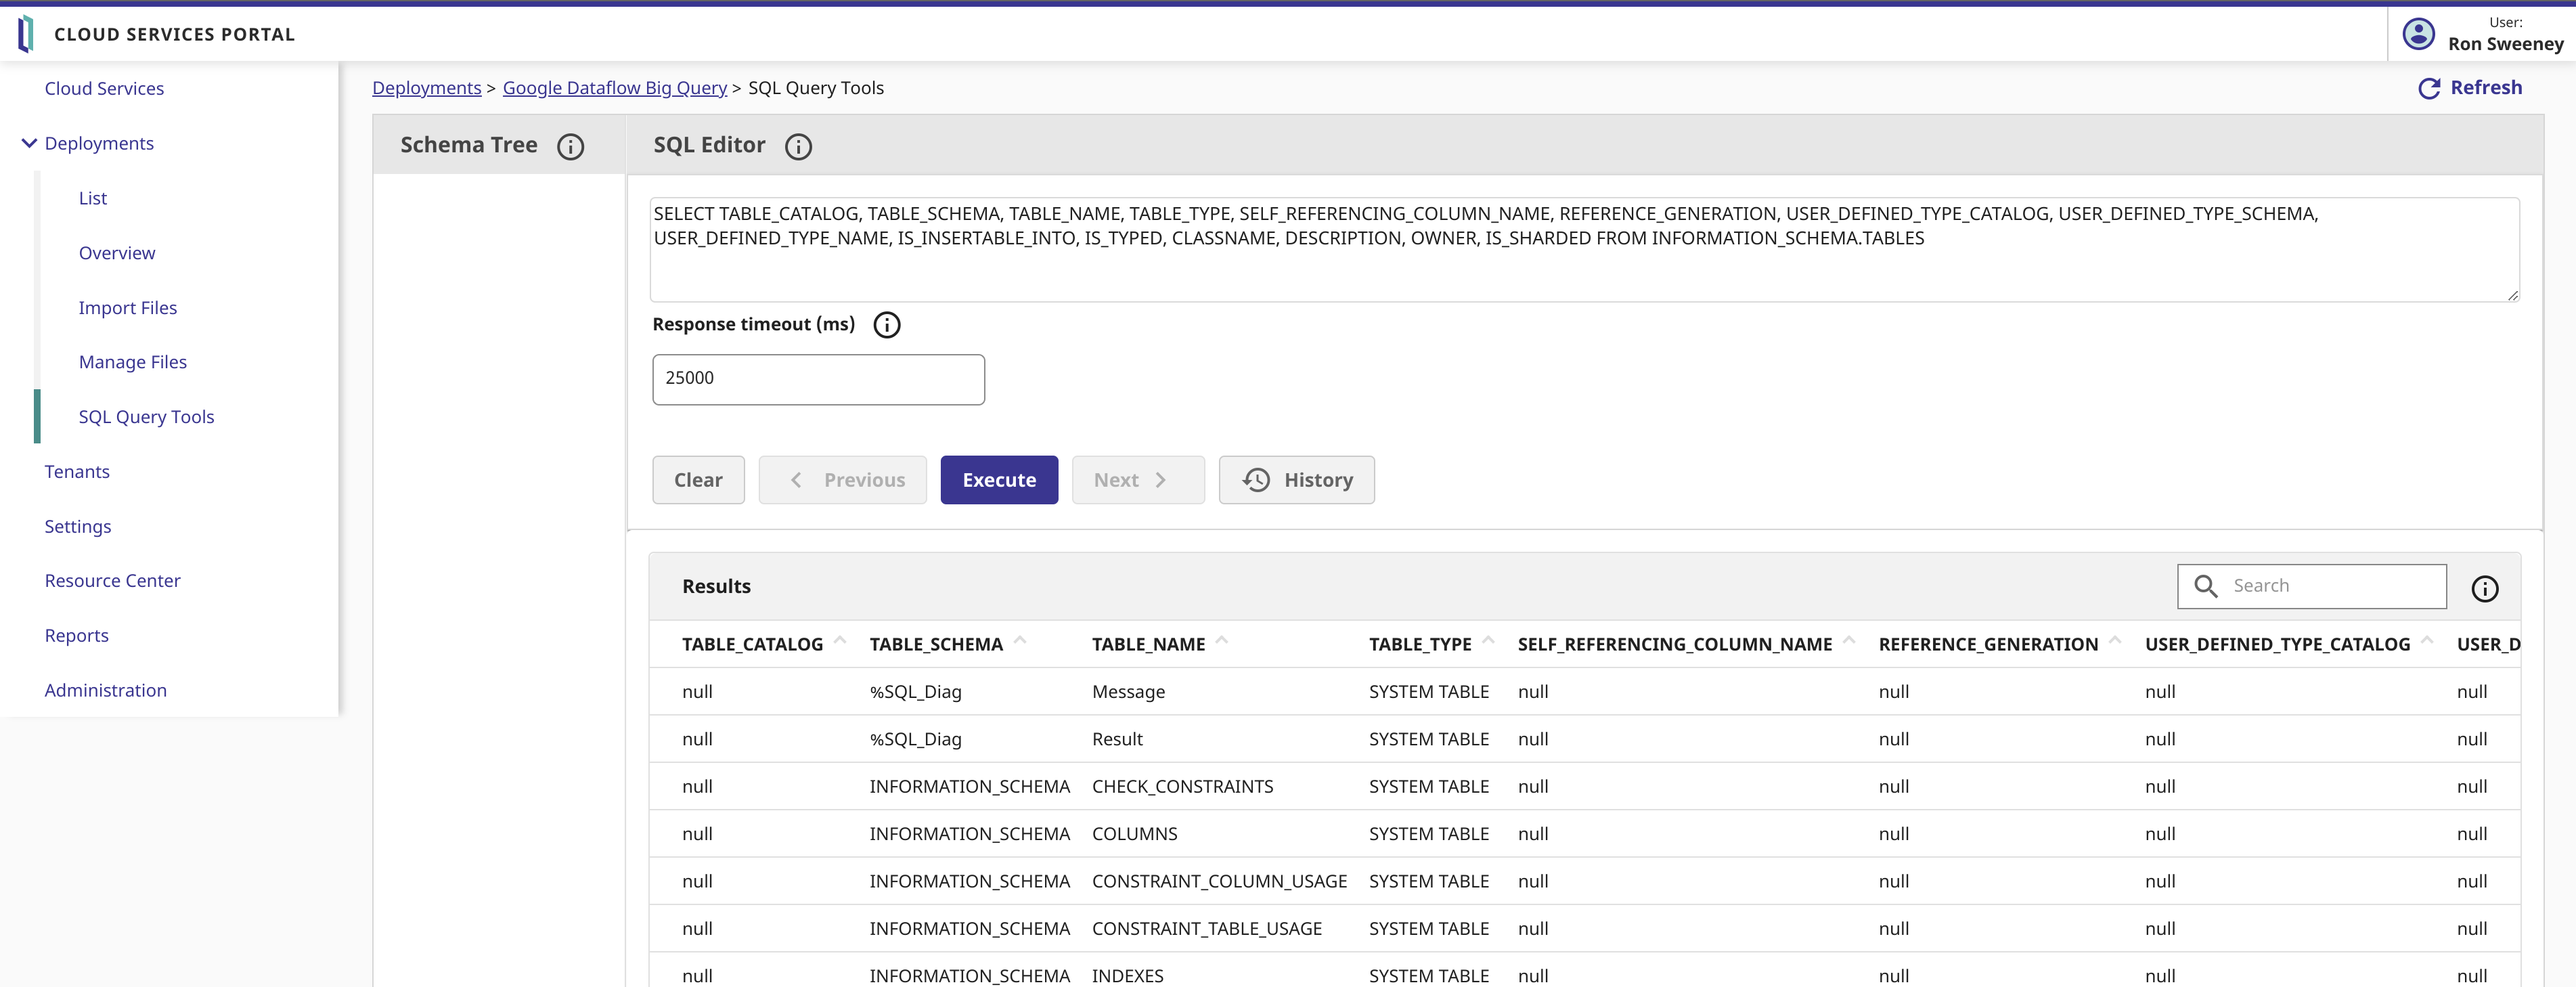
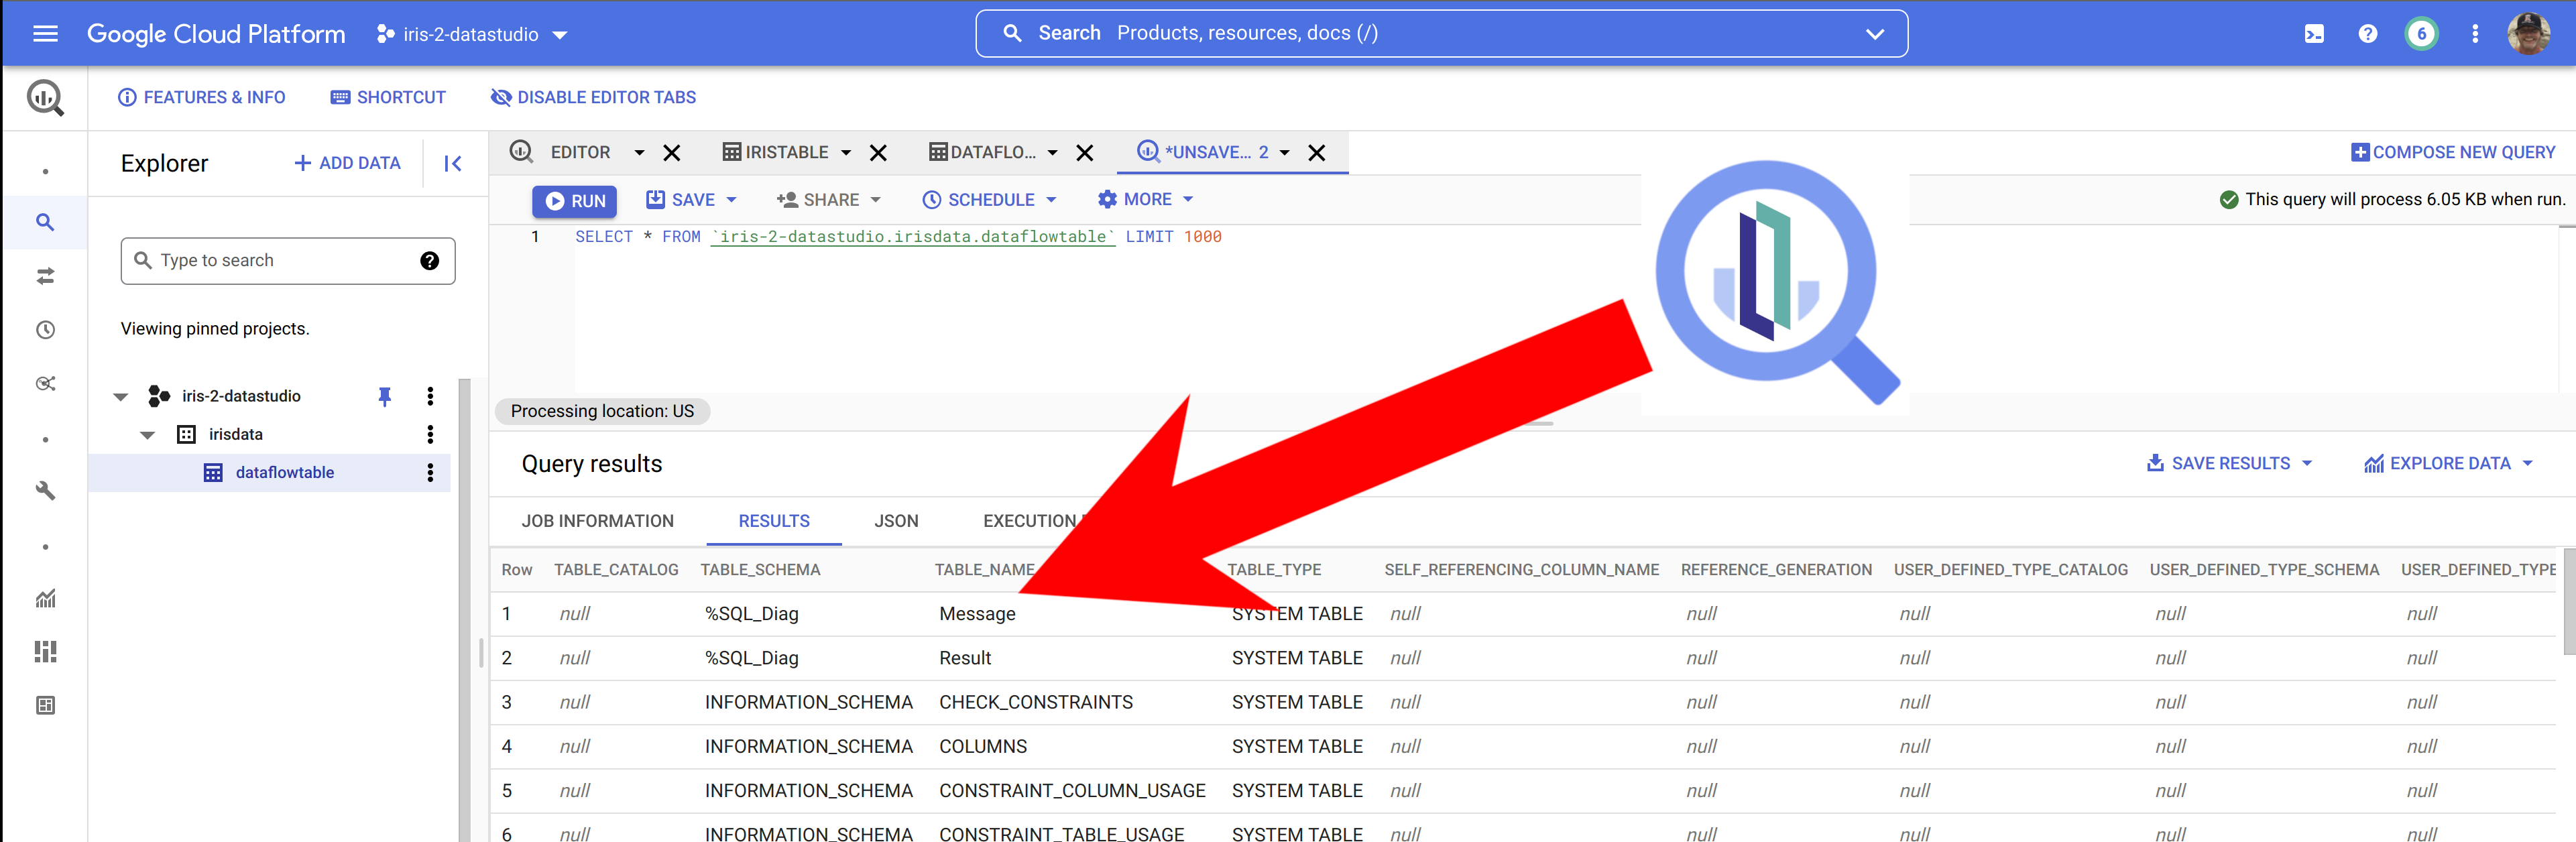
... and then Inspecting the results in Big Query, it appears we do in fact, have InterSystems IRIS Data in Big Query.
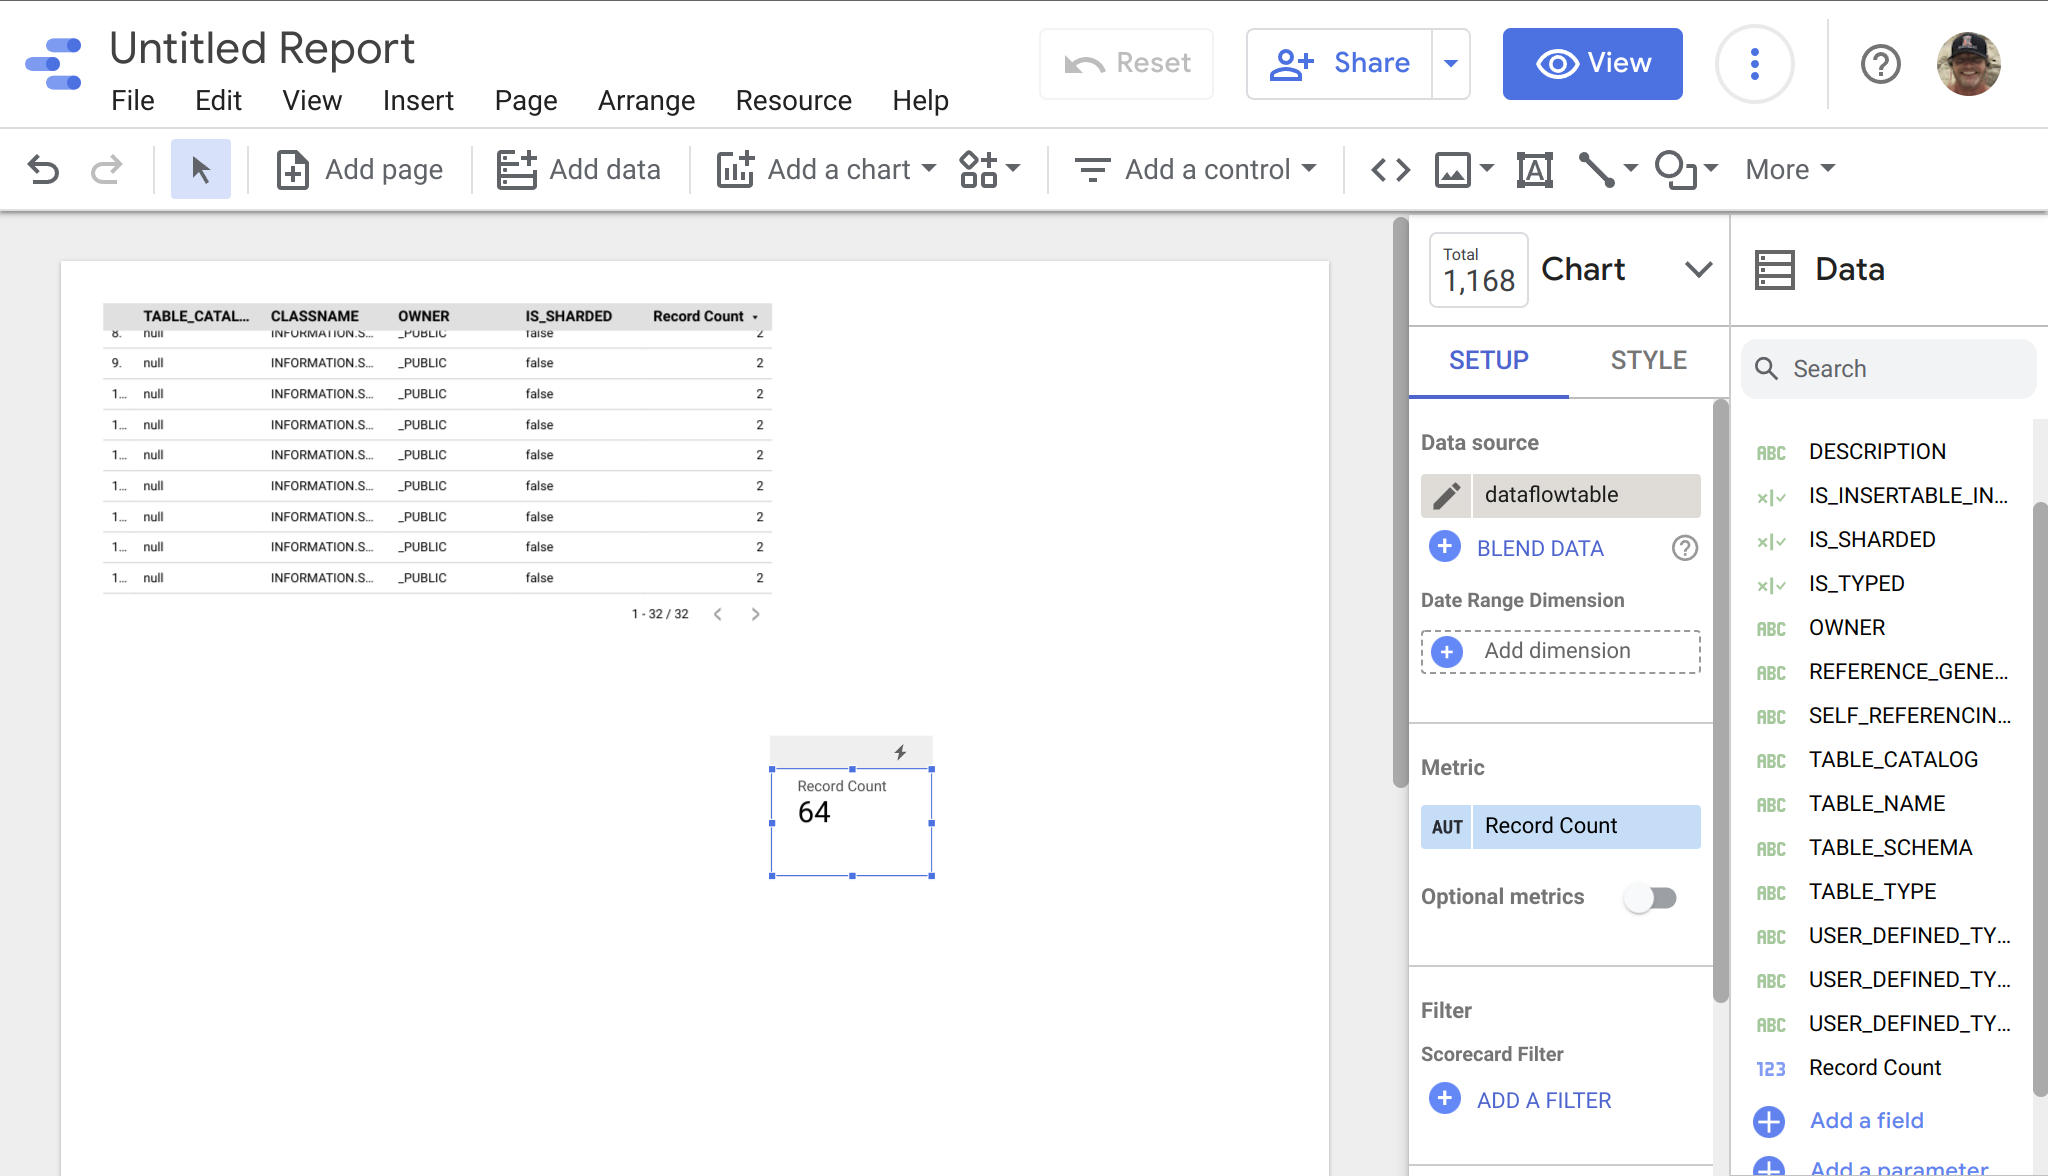
Once we have the data in Big Query, it is trivial to include our IRIS data into Data Studio by selecting Big Query as the data source... this example below is missing some flair, but you can quickly see the IRIS data ready for manipulation in your Data Studio project.
 Open Exchange