Olá desenvolvedores!
Conhecem a IA da Comunidade? Se não, estão perdendo uma das melhores aplicações que nos trouxeram em 2024. E vocês devem se perguntar: o que é isso? É uma ferramenta muito intuitiva para obter respostas sobre a tecnologia InterSystems.
Onde a encontro?

Ao lado direito da página, logo acima da coluna de eventos, onde há "Fazer uma pergunta a IA". Vamos seguir o passo a passo e vocês verão como é simples.
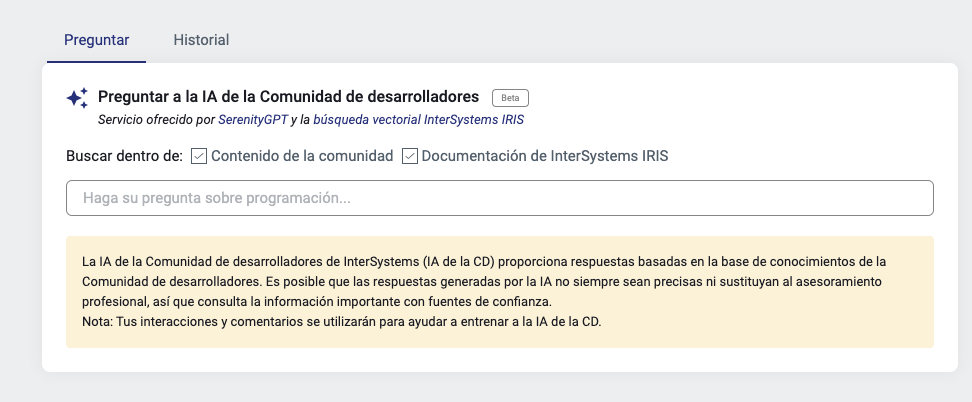
- Uma vez dentro, vocês observarão que ainda está em fase beta. Nossos companheiros estão trabalhando em incluir manuais de suporte oficiais e incorporar o feedback que vocês vão fornecendo. Vocês verão um disclaimer que avisa que o conteúdo que recebem vêm dos textos da Comunidade de Desenvolvedores. Isso é genial, porque junto vem o artigo e a fonte da resposta.
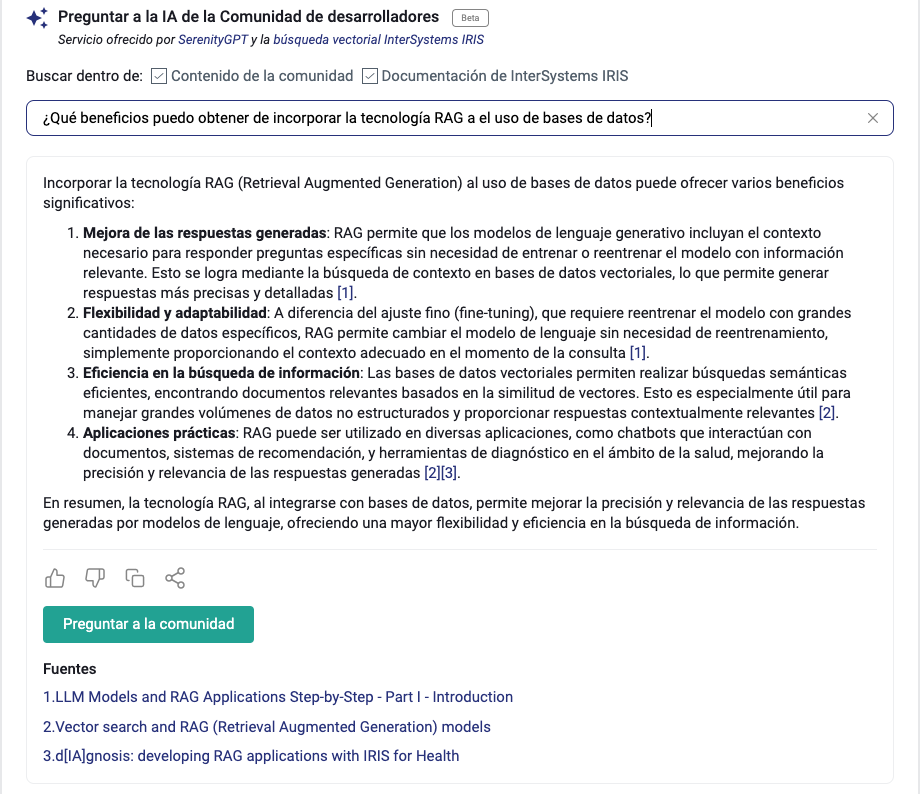
- Quando fizerem suas perguntas, receberão respostas esquematizadas, fáceis de ler e resumidas. É uma boa opção para uma primeira busca sobre um tema. Podem filtrar se a resposta é de conteúdo da comunidade ou da documentação oficial.
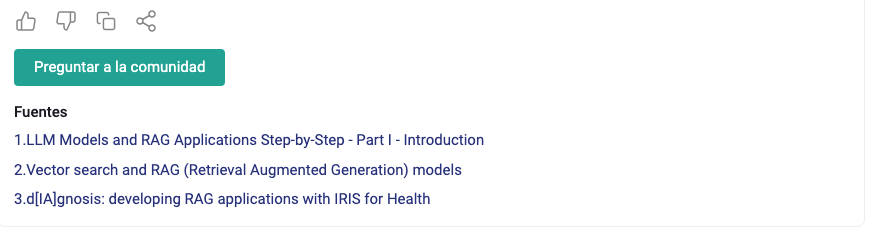
- Vocês podem avaliar se a resposta foi boa ou não (polegar acima ou abaixo), consultar as fontes (eu adoro isso) e, se for como eu, talvez possa seguir preferindo a ajuda de uma pessoa. Ainda que esta ferramenta esteja incrível, é complementar a ajuda que lhes oferecem nossos experts. Se quiser acrescentar algo mais específico a respeito do seu caso, simplesmente clique em "perguntar à comunidade" e desenvolva sua pergunta sem problemas.
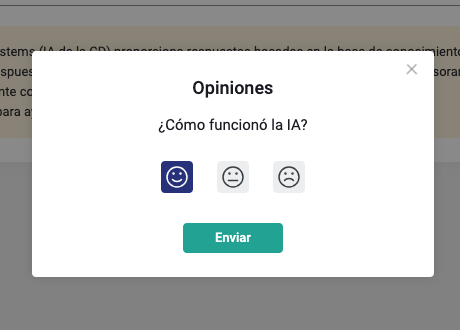
- No seu caso, a IA funcionou? Se te ajudou, pode avaliar positivamente. Isso ajuda a seguir melhorando a BETA.
Futuramente comentarei outras funções interessantes que teremos esse ano na comunidade, assim como ideias e propostas que podem incorporar no seu dia a dia para aproveitar o máximo da tecnologia InterSystems.
Obrigado por ler!
 Open Exchange